Showing posts with label Easter. Show all posts

Thursday, April 13, 2017

Bunnies and Chicks and Eggs, Oh My!

Did you check out this fun little Easter craft from the other day?  We are enjoying it on our front porch.   Today I thought I'd share a few more Easter decor ideas with you.  Mostly, when I think of Easter decor, I think spring.  And when I think spring I think renewal and rebirth and flowers and greenery.  It's about opening your windows and letting in the light and the air, right?  In the spring, I like to try and do the same thing with my decor.  Air things out a little bit.  Get rid of the heavy and lighten things up.  And specifically for Easter, a bunny or two never hurt anyone.  

In my house, I have three little kiddos.  So I do like to do a little Easter banner, and I set a few eggs out.  But if that isn't your ideal decor idea, even just setting out a big bunch of tulips gets the job done. 


I love the tassels on this banner from Target.

Anything green and living is great for Spring decor.


Here is our Easter tree with the glass eggs.  I also added my three little bunnies- my kids like to guess which one is represents each of them.  


 I added a few eggs to these lanterns for a subtle Easter nod. They'll be easy to take out after Sunday and the mantle will be back to spring.


 Just a few simple ways to spring a little bunny bounce into your decor and have your home Easter ready! I hope you have a lovely holiday with your families!  Thanks for reading!


Tuesday, April 11, 2017

Trimming the Easter Tree

Last week I kicked off Easter by sharing our Easter table all set for dinner.  Toady I am back to with a fun Easter craft for you to try!


When my friends Sarah and Mika showed me these adorable little Easter egg trees they made with their families, I knew I wanted to share it with you!

For years, as part of our Easter decor, I have been hanging glass eggs on some twigs in a vase and setting them on the buffet in our dining room.  This reminded me of that family favorite, but was a way to incorporate the eggs we dye each year as a family.

What I love specifically about this tree, is that it can include ever member of the household, and unlike the hard boiled eggs,  these decorated eggs don't need to be refridgerated and instead can stay out for the season to show off their pretty colors.

Now.  I'm not a crafter.  Mika and Sarah are both teachers and they are wonderfully patient and creative.  Those are not my strongest suits.  But, I still wanted to give it a whirl and I'm telling you, if I can do this, you can do this.  (We don't need to mention that I had to go back to them and their very specific instructions several times.)

And I did it.  And then I wrote down step by step instructions on what you need and how you do it, for those of us that don't hold crafting at the top of our resume. It's really not hard at all.  I promise.  Here goes.

What you need:
1. Regular, uncooked, out-of-your-fridge eggs (I like to dye white eggs because brown eggs don't take dye as well.)
2. A drill with a long skinny drill bit on the end
3. Fishing line
4. Toothpicks
5. Egg dye


What you do:

Step one:
Take your eggs and drill a small hole in both ends of the egg.  The egg carton supports the egg nicely while you drill. You will need to put a little pressure on the drill, but be careful not to put too much pressure or push the drill speed too high, or you'll have scrambled eggs.  You just want a little pressure on the egg so the drill bit goes in and you just want to drill the hole slowly.  By about egg number 3 this is easy peasy.


Step two:
This is where things get weird.  You have to blow out the whites and the yolks.  Yes, with your mouth.  I know, but just stick with me- it's not as gross as it sounds.  Put your mouth over one of the holes you drilled and blow the eggs into a bowl.   I'll use my eggs to make a quiche for an Easter brunch.

Step three:
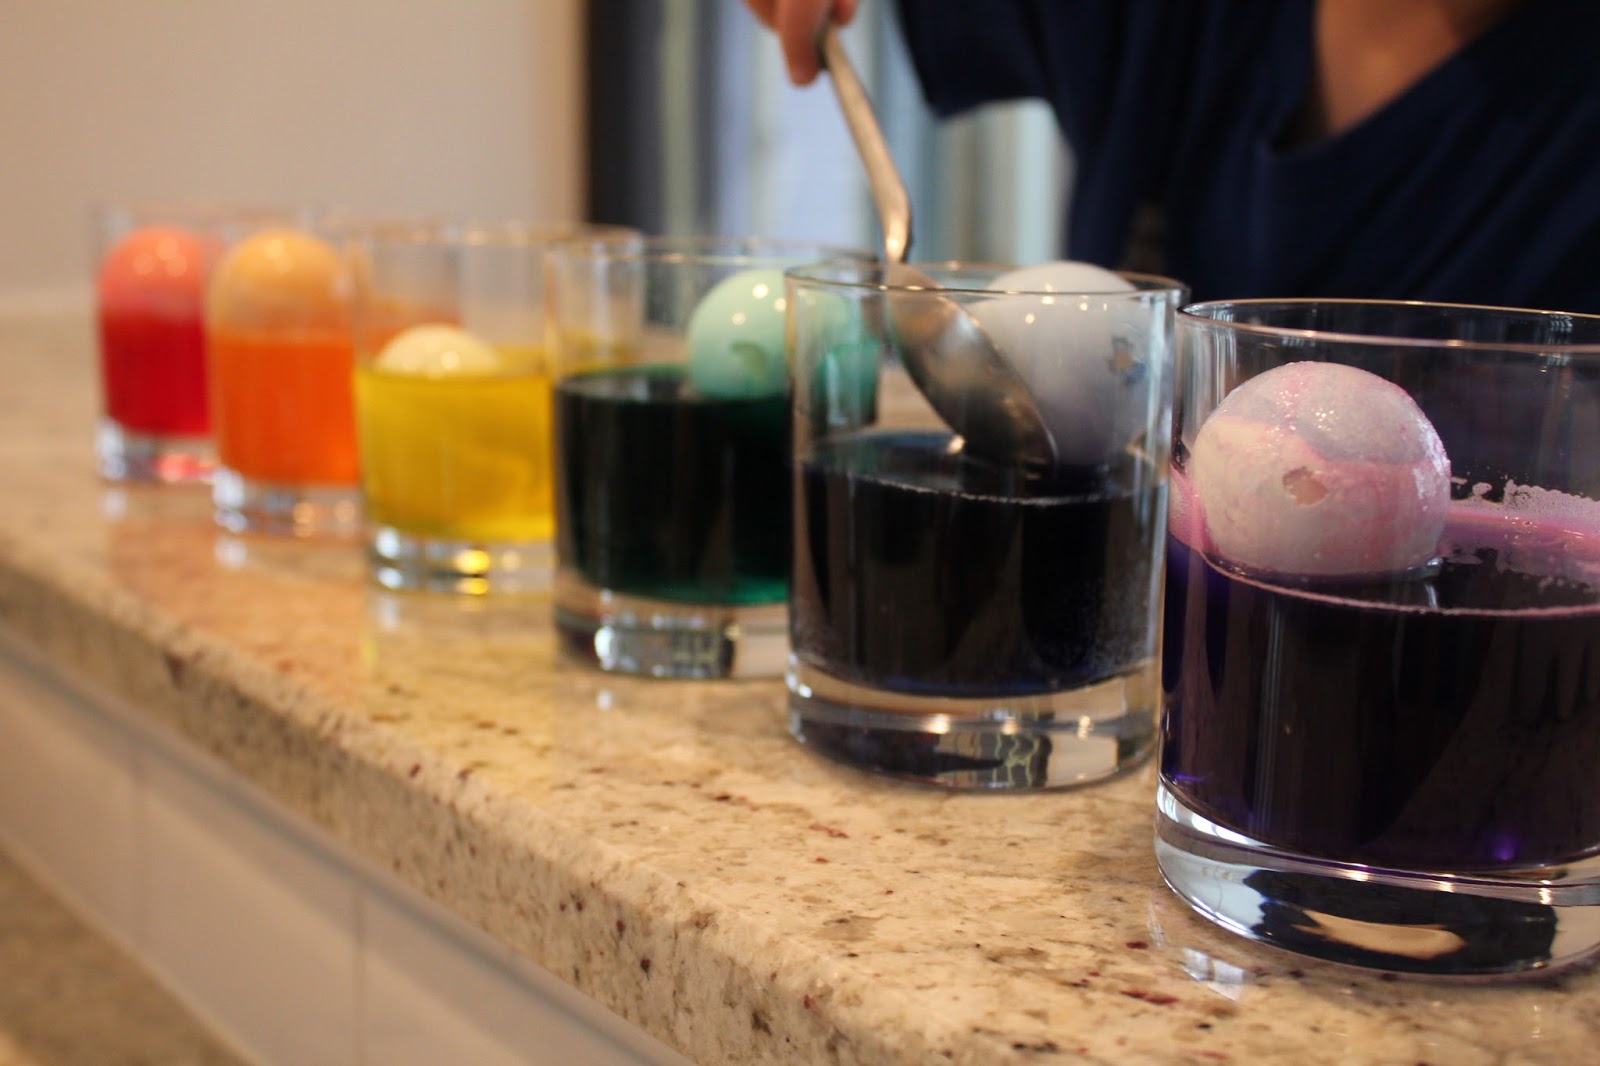
Dye the eggs using your favorite egg dye kit.  Just as you would dye hard boiled eggs.  Some of ours tended to float on the top a bit since they are hollow, so luckily, I had an egg dying assistant who was happy to keep turning them.  After you dye the eggs, set them aside and allow them to dry.


Step four:
While the eggs are drying, hunt for sticks in the yard.  We clipped a few from our forsythia for some added color, and added those with some sticks from the yard.  Pop the sticks in a vase or a jar (Mika uses and old coffee can covered in paper and her kids decorate it with markers and stickers). Fill the jar with a little water (if you have living flowers) and a few rocks for weight.  If you are short on sticks in your yard, you could shop the grocery for flowering branches or, go to your craft store and use artificial branches as well.


Step five:
Take a deep breath and put your patient pants on.  Then take the fishing line and tie it securely around the toothpick.  High five your family when this part is done.  It's oddly the worst part and yes, has nothing to do with the eggs.  (My husband did tell me after the fact, that if you use thinner fishing line, it's a lot easier to work with.) My toothpicks were strangely oversized, so I had to clip the end of them a bit.

Step six:
Thread the toothpick into the egg, keeping the fishing line out.  The toothpick keeps the fishing line in the egg so they can be hung. After the fishing line is secure, tie the opposite end of the line together, for hanging.


Step seven:
Hang the eggs on the tree.  Happy Easter!


 Looks pretty in almost any room in the house!


Think you'll try it?  Post a picture in the comments when you're done!  I can't wait to see how creative you guys will get!  And be sure to check back again this week when I'll be sharing some Easter decor ideas!  (If you're trying to follow me and/or subscribe you have to do that in the regular web version- not from your phone.) And follow me on Instagram @johannampatterson to see the lamb cake I'm making for Easter dinner! Thanks for reading!  

Thursday, April 6, 2017

Setting the Easter Table


Spring has sprung, friends!  And in our house, Easter prep is in full swing!  With every holiday, I always get the most excited about the decorating.  Sometimes just a few easy switches can really let your home set the stage for the season.  Whenever we host people for dinner in our home, I always think about the table decorating first, and the food we're going to serve, second.  Luckily, my husband helps pick up the slack here for me, so I can be left to fluff pillows and arrange flowers, while he focuses more on filling bellies.

I got to work setting an Easter table setting today and thought I'd share a few details with y'all. 

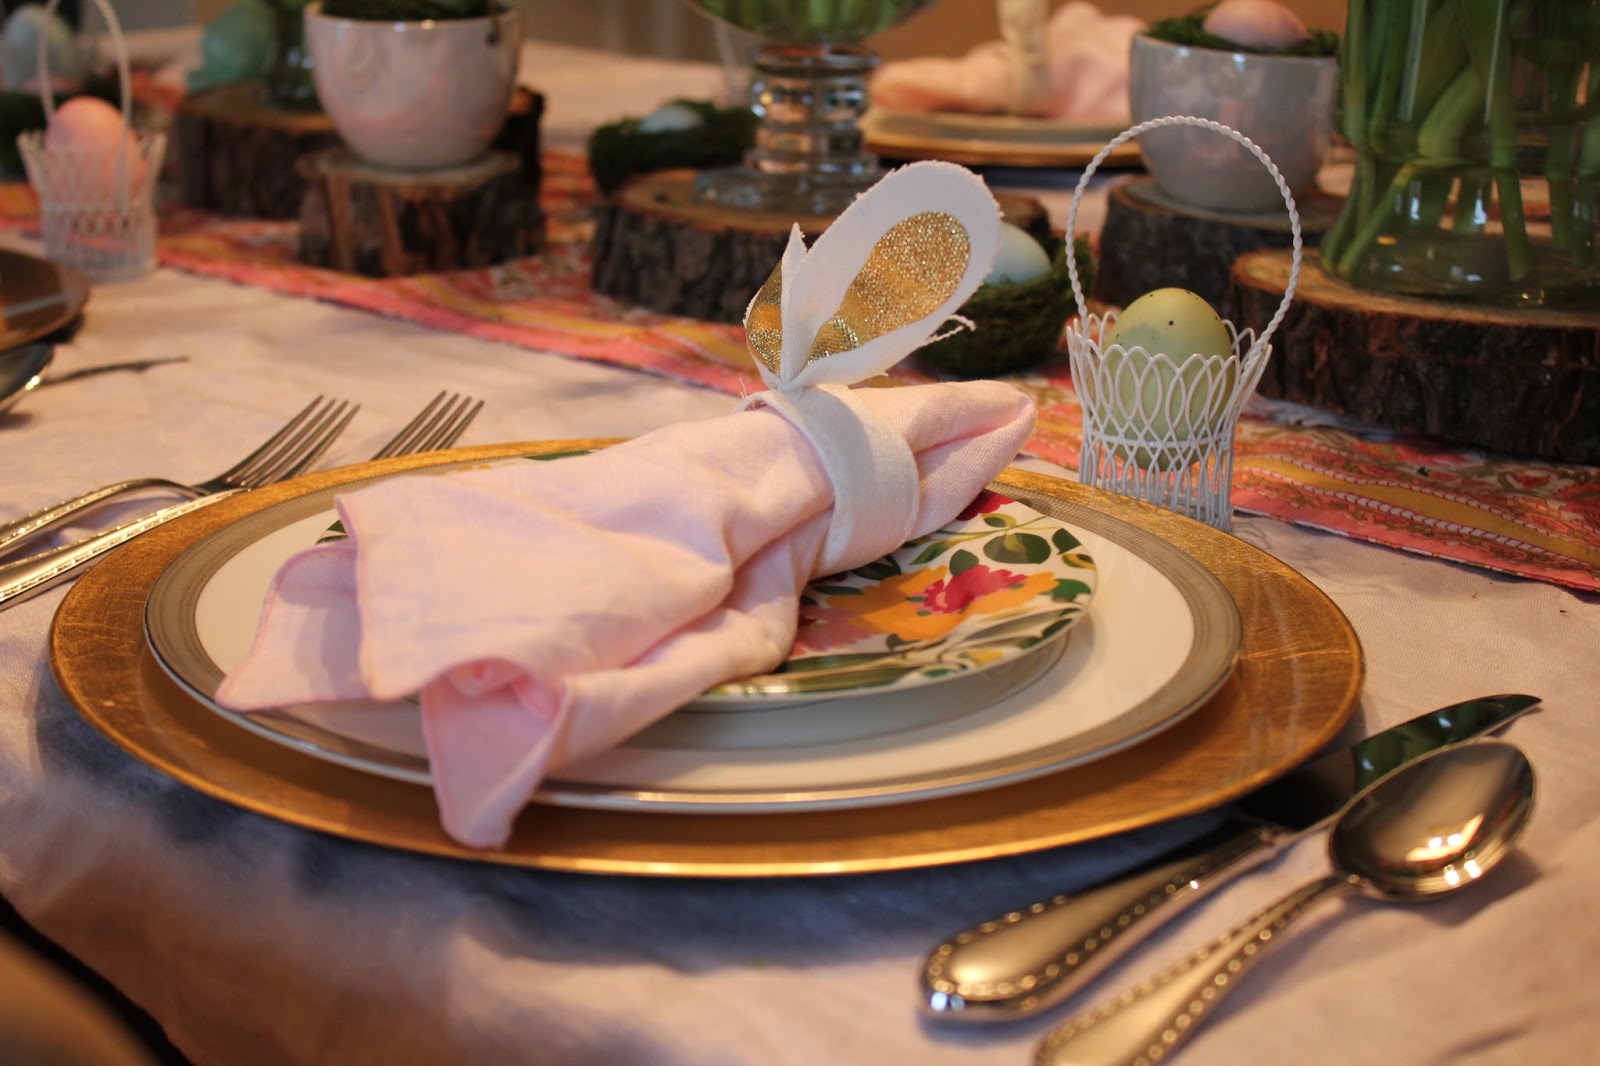
The first thing I think about when setting the table is the color theme.  For Spring, I wanted it to be bright and fresh and alive.  I started with the plates and the table coverings.  I chose a bright and colorful plate that just screams SPRING(!!!) and paired it with my more subdued china as well as a gold charger for a little bling effect.  Who doesn't love a little bling?


 Next, I had to think of the table coverings that would compliment the plates.  I always try to work with what I have first, versus buying something new that might be so seasonally specific that they lose their versatility in my linen storage.  In this case, I chose a very pale pink tablecloth that was my grandmother's and to add an additional pop, topped it with a similarly colored table runner I found at Home Goods years ago.  


Because my plates and the table runner are both a busy pattern, I wanted to chose a solid colored napkin that would bring balance to the individual setting.  These light pink napkins are a near match to the tablecloth and help create a cohesiveness on the table. To top them off, I slipped some bunny ear napkin rings I found in the dollar spot at Target recently.  The gold detail on the ears compliments the charger and brings a playful feeling to the table.  Adding an element like this makes the table feel less formal, which always makes people feel more comfortable.  


The centerpiece is always my favorite part of planning the table setting.  It is the showstopper.  I usually like to keep a centerpiece low so that you can see over it, but since I was setting the table today for a smaller crowd, I went for the drama that height brings so easily.  However, when adding height, I always make sure that people can still see through or around to each other to promote ease of conversation.  Since the centerpiece doesn't stop right in the middle of the sightline, conversation can still easily happen around it.  


Flowers are my go-to in any centerpiece, because their beauty really makes a statement.  Specifically for this springtime Easter dinner, I wanted to pack a powerful springtime punch with tulips.  Any chance you have to bring inside what is happening outside the windows, is a great launching point for your design.  I always make my own arrangements and I try to keep them fairly simple.  I go to the grocery store and buy flowers in all of the colors that I need to match my table decor, and then I deconstruct them, cut them down to size and rearrange them.  I am planning a whole post on flower arranging, down the road to explain exactly how I do that, in greater detail.


 Next I focused on the details.  I wanted to make the setting feel less formal and again, bring an element of outdoors in, so I set wood pieces on the table to add an unexpected element to the flowers and added some other wood pieces as well, in varying sizes to make it feel more organic.  Then, I placed Easter trinkets around the table, adding some small baskets and nests and bunnies to really bring the season alive.


And there you have it!  Just add family and ham and maybe a little wine and you have Easter dinner all wrapped up!  

Be sure to check back next week for an Easter craft and maybe a little Easter decor, too! Thanks for reading!