Showing posts with label home styling. Show all posts

Thursday, April 13, 2017

Bunnies and Chicks and Eggs, Oh My!

Did you check out this fun little Easter craft from the other day?  We are enjoying it on our front porch.   Today I thought I'd share a few more Easter decor ideas with you.  Mostly, when I think of Easter decor, I think spring.  And when I think spring I think renewal and rebirth and flowers and greenery.  It's about opening your windows and letting in the light and the air, right?  In the spring, I like to try and do the same thing with my decor.  Air things out a little bit.  Get rid of the heavy and lighten things up.  And specifically for Easter, a bunny or two never hurt anyone.  

In my house, I have three little kiddos.  So I do like to do a little Easter banner, and I set a few eggs out.  But if that isn't your ideal decor idea, even just setting out a big bunch of tulips gets the job done. 


I love the tassels on this banner from Target.

Anything green and living is great for Spring decor.


Here is our Easter tree with the glass eggs.  I also added my three little bunnies- my kids like to guess which one is represents each of them.  


 I added a few eggs to these lanterns for a subtle Easter nod. They'll be easy to take out after Sunday and the mantle will be back to spring.


 Just a few simple ways to spring a little bunny bounce into your decor and have your home Easter ready! I hope you have a lovely holiday with your families!  Thanks for reading!


Wednesday, March 29, 2017

Style it 5 ways: Gold Tray

Hi guys!  I'm back to my Style it 5 ways series! Today I am talking about this cutie little gold tray, from my Target run a week ago.  What I like about this tray is that it is a little pop of happy with its shine and the gold is just a touch of trend to add to any space right now, and is easy to swap out when that's no longer the case.  We don't always need to make huge commitments to trends.  Styling with classic pieces that you enjoy sets the perfect foundation and allows for small less expensive trend pieces to take center stage and keep your home feeling fresh and current.  

1. As part of a table-scape
Here is an example of mixing the trends with classic pieces and even some antique pieces.  Here I put the tray on the center of the table and placed an antique sugar bowl and creamer on top for serving coffee to my guests.  Or not.  I think it also looks cute as is -- even if your only guests for the day are all under the age of eight and think coffee smells like burnt toast.  Don't be afraid to mix the old with the new, to mix medals, and to mix expensive with the inexpensive.   It's all part of creating the layered, collected-over-time look that I have talked about.  


2. On the entrance table
When you enter the door, set your things on this tray and never ask the question, "Where did I put my keys?" again.  Here, the tray does more than just provide a place to set your things, it also creates an organized look to what otherwise might seem like clutter.  "No, honey, I didn't just come home and throw my stuff down, I set them on your cute tray."   


3. On your bathroom vanity
I love the way this looks in the bathroom and again, makes a collection out of things you might just otherwise have sitting on your counter.  The tray really pulls it all together and makes it feel on purpose.  


4. In your kitchen
In the kitchen, this tray is the star when leaning against your cutting board or cheese trays.  The shine of the tray brings nice balance to the raw wood cutting board behind it and makes this little counter spot feel special.  And again, a great place to add just a touch of trend -- with only a $20 price tag. 


5. As a (covered) dessert tray 

The back of this tray very clearly says that it is not food safe, but I placed cupcakes on it that were wrapped in paper, so viola.  Problem solved.  You could also place a small doily or napkin on top and serve bite sized appetizers.


And there you have it!  Another round of Style it 5 ways!  I have one more item to come (the glass and gold box) and then that wraps up my first installment of Style it 5 ways.  Thanks for reading!

Wednesday, March 22, 2017

Style it 5 Ways: Natural Wood Basket

Earlier this week I started a "Style it 5 Ways" blog series (or do you think we should call it Finds 5 Ways?  Five Way Finds?  I do love alliteration.  Hmmm....  I digress... ).  Anyway, I went to Target and found some fun finds and brought them home and styled them 5 different ways and am sharing them with you.  

I opened the series with a set of lanterns, and up today, the much requested basket.  I was immediately drawn to this baby because I love the large open weave and the geometric pattern that is created with the wood.  And any chance you have to add a natural element into your home, you definitely should.  It makes your home feel comfortable and gracious.    

1. Empty and on its own
Just because it is a basket, doesn't mean you have to fill it.  And in this instance, I think especially because it has such a beautiful open weave, leaving it empty and placing it somewhere as a piece on its own, is really nice.  It allows the eye to go through it so it doesn't take up so much visual space.  I placed mine by the fireplace because I liked the way it brought balance to the natural element in the wreath on the fireplace and also I really liked the juxtaposition of the shiny lanterns above to the muted natural wood of the basket.  


2. As a log holder
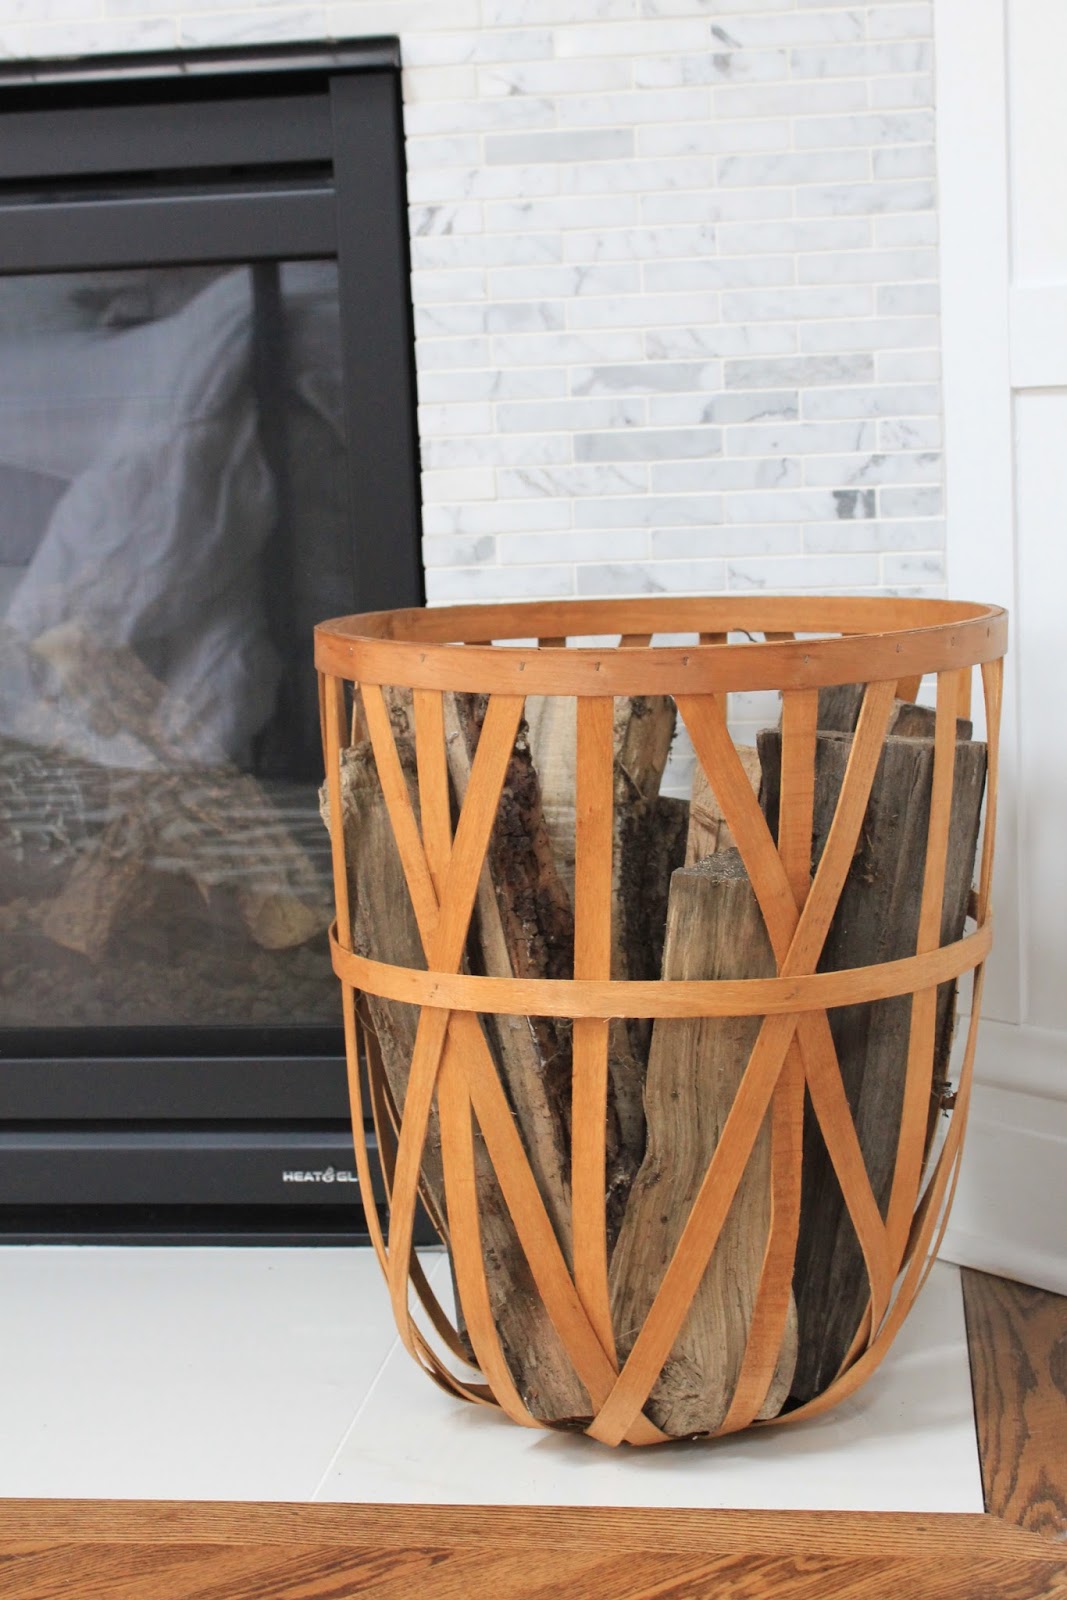
I am a believer in making even a very functional item as beautiful and as interesting as possible.  So instead of a big bulky log holder by your fireplace, try filling a basket or a bucket with wood to fuel your fire.  You can carry the basket out to the wood pile outside, fill it up and bring it inside for easy use.  And, if you have a gas fireplace and don't have a need for logs, this basket would still look really cute next to your fireplace, filled with birch logs for a more decorative affect.  


3. As a plant stand/cover
I love bringing the outside in, but since you can't plant that tree in the floorboards, why not plants its roots in a pretty basket or tub?  This is a simple way to add some interest while not taking away from the beauty of the plant.  And adding this extra touch makes bringing the plant inside feel more intentional and finished, and less like you just stuck a plant in the corner of the room.

4. As a blanket/pillow holder
As far as I'm concerned, there is no such thing as too many pillows.  And sometimes when you want to kick back at the end of the day with Bravo and a glass of wine, a spare blanket and a place to rest your head it just the ticket.  Tuck this basket next to the couch filled with extra cozy goodness and you're all set.  Plus, they look super cute in there, right?!  


5. As a chandelier
Don't be afraid to think outside the box.  The open weave on this basket makes it perfect for the light to filter through, and the geometric shape casts beautiful shadows on the walls when lit up.  Simply drill a hole in the base of the basket and install a light kit (I promise this is easy) and have an electrician (or a handy husband) hard wire it to an existing ceiling light box.   (I wasn't going to use the basket in this way permanently, but if I were, I would have run more wire through so that the lightbulb hung about 4 or 5" lower.) 


Buy the basket here and get to work!  I can't wait to hear how you used yours!

Monday, March 20, 2017

Style it 5 Ways: Lanterns

Do you ever go decor shopping and find something cute but think, "Where would I put that?"  You're not alone.  So last week I went to Target and picked out some new decor items that I think are common pieces that a lot of us gravitate to time and again.  I brought them home and had fun playing with them and wanted to share 5 different ways that you can incorporate them into your home.

I shared a picture of my finds on my instagram  page and asked my followers to vote on which items I should kick off my "Style it 5 ways" segment on and of course, the lanterns won.  We all have major love for lanterns.

1.The Mantle
Displaying items on the mantle is maybe the most common place that people talk to me about wanting to style.  I, myself, often get stuck in the mantle rut.  It's often times a focal point of the room, so it's important to make it welcoming and interesting.  I have an entire blog post on mantle-scaping in my back pocket so be sure to be on the lookout for that.  In the meantime, I'll say that some easy ways to create interest on the mantle are by incorporating color, and by layering items to create dimension.  


2. Coffee Table 
Again, layering is the name of the game here.  Also, grouping like items together and displaying them close together in little clusters is appealing to our eye and helps us look across the table without it feeling too busy.


3. Dining Table Centerpiece
No one says you have to only put a candle in a lantern.  Here, I made the lantern a small terrarium.  Thinking of new ways to use common accessory pieces is a great way to create interest with your decor.


4. Entry Table
At a table right inside your front door,  a lantern is pretty and inviting.  Mix in some fresh flowers for extra credit.  


5. Outside your front door
Don't limit where you place your decor to only table tops and mantles.  These lanterns are especially pretty grouped at the front door because as you look down into them you are surprised with a little extra pop of gold.  And nothing would make your guests feel cozier than being greeted by these beauties glowing at night.  


So there's my lantern love!  Be sure to stop back to see which items I style 5 ways next! Thanks for reading, y'all! 

Shop the lanterns here: Big and Small

Thursday, March 9, 2017

5th and James


Hello and Welcome!

I'm Johanna, and I live here at 5th and James with my husband, and our three spunky and spirited children, ages 8, 5 1/2 and 3 1/2 (the halves are very important to them).  We bought this house nearly eight years ago and it was a HOT mess, y'all.   But, it had great bones, had been lovingly cared for and was in a great spot in a town we love- so we thought we'd give it a go.  We  have spent the better part of those eight years fixing it up, literally pouring our blood, sweat and tears into it.  We've done most of the work ourselves, with the exception of an addition and a new garage, where we had a lot of help from a contractor and people with big fun equipment.  We love to fill our house with the people we love, the things we like and are constantly reimagining the spaces inside (and out) while simultaneously day dreaming about someday making them all happen.

So, wanna come in?  We all love a good house snoop, right?!  I'll start things off by showing you some of my favorite and most dramatic before and afters of our house.  And as the weeks go on, I hope to share some specific projects we have done or are doing, maybe give some helpful tips, talk a little about every day life as a gal just trying to shower semi regularly and drag you (er, I mean take you) along with me for the ride.  Sound good?  Cool!  I'm so glad you're here!


BEFORE
AFTER
AFTER

REAR- BEFORE
REAR- AFTER 

LIVING ROOM- BEFORE
LIVING ROOM AFTER
LIVING ROOM- AFTER

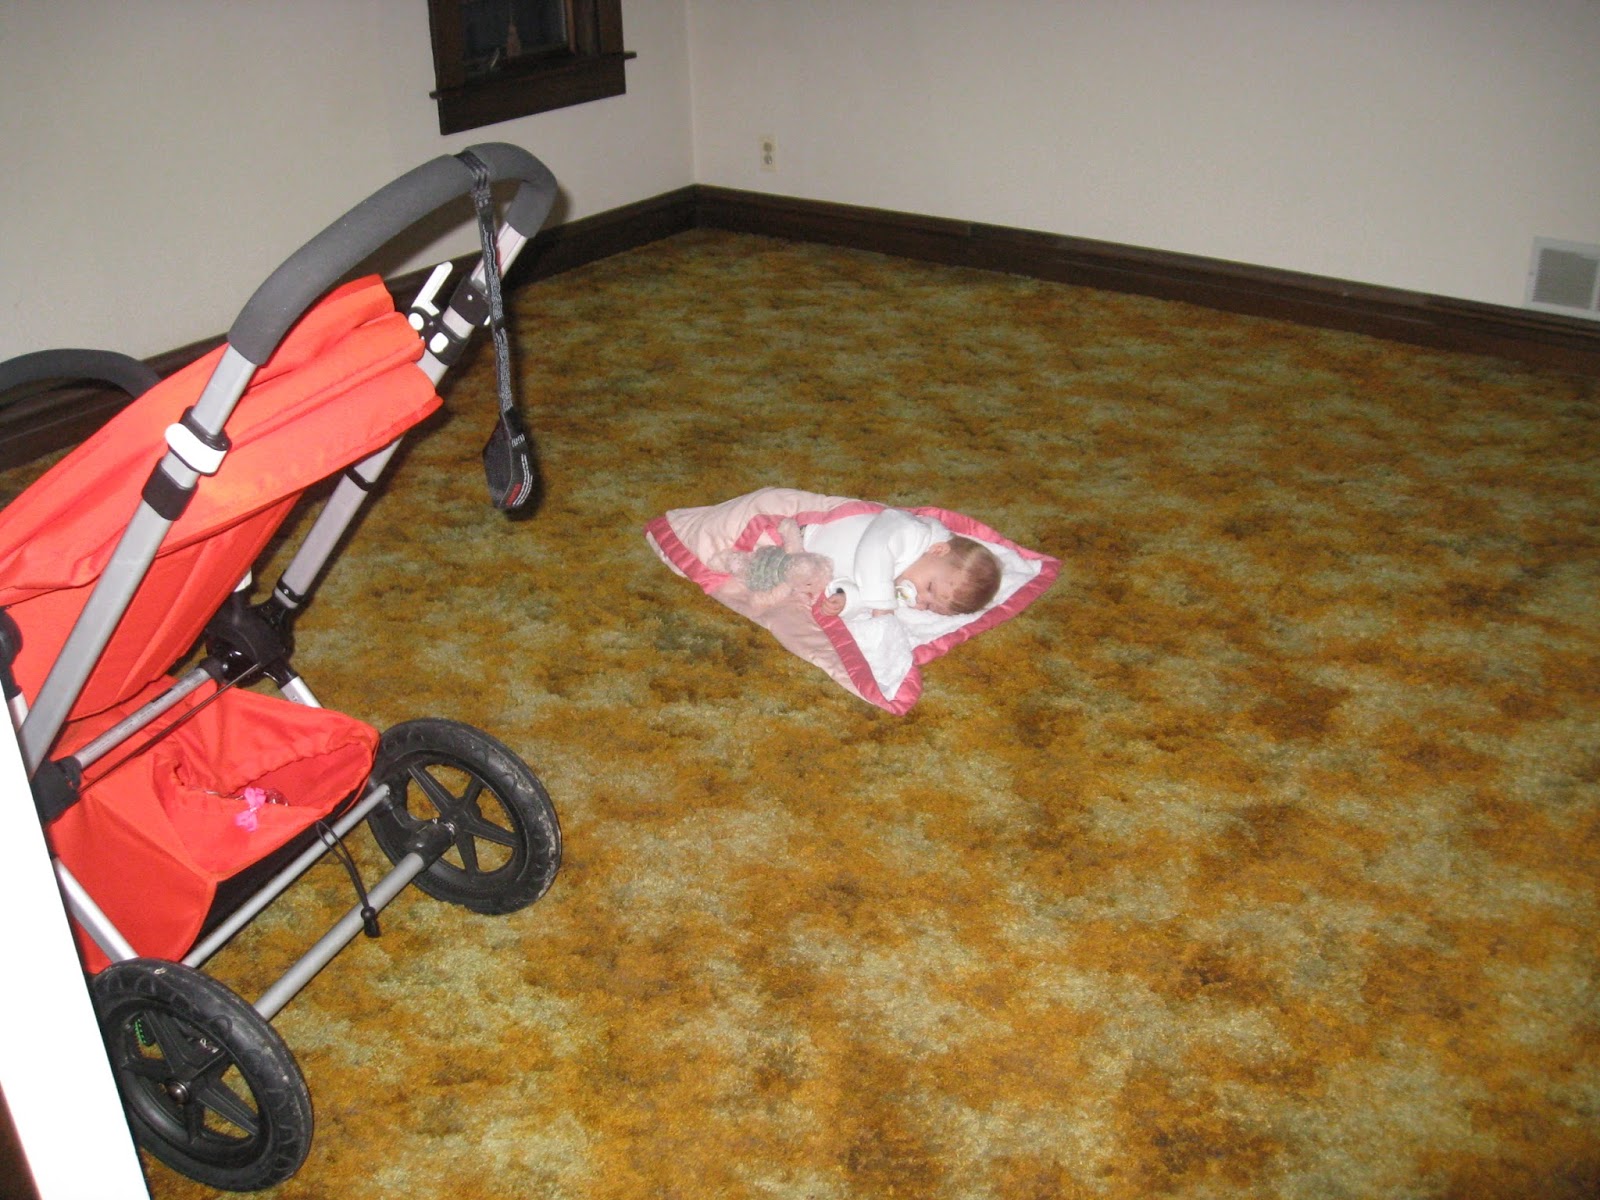
DINING ROOM BEFORE (with a sweet sleeping then 6mo old Mare-bear)

DINING ROOM AFTER 
DINING ROOM BEFORE


DINING ROOM AFTER 


DINING ROOM BAR BEFORE (it was actually a closet)

DINING ROOM BAR AFTER
FAMILY ROOM BEFORE 

FAMILY ROOM AFTER


FAMILY ROOM/BREAKFAST NOOK BEFORE 

FAMILY ROOM/BREAKFAST NOOK AFTER 
The addition of this door allows for light to flood the back family room, and lets me keep my eyes on my little turkeys playing in the backyard.  

BREAKFAST NOOK (storage under the banquet benches is filled to the brim with throw pillows)

KITCHEN BEFORE

KITCHEN BEFORE 
KITCHEN AFTER 

KITCHEN AFTER 

POWDER ROOM BEFORE

POWDER ROOM AFTER 

2ND FLOOR FLAT ROOF AT THE BACK OF THE HOUSE (became our master bedroom/bathroom/closet)

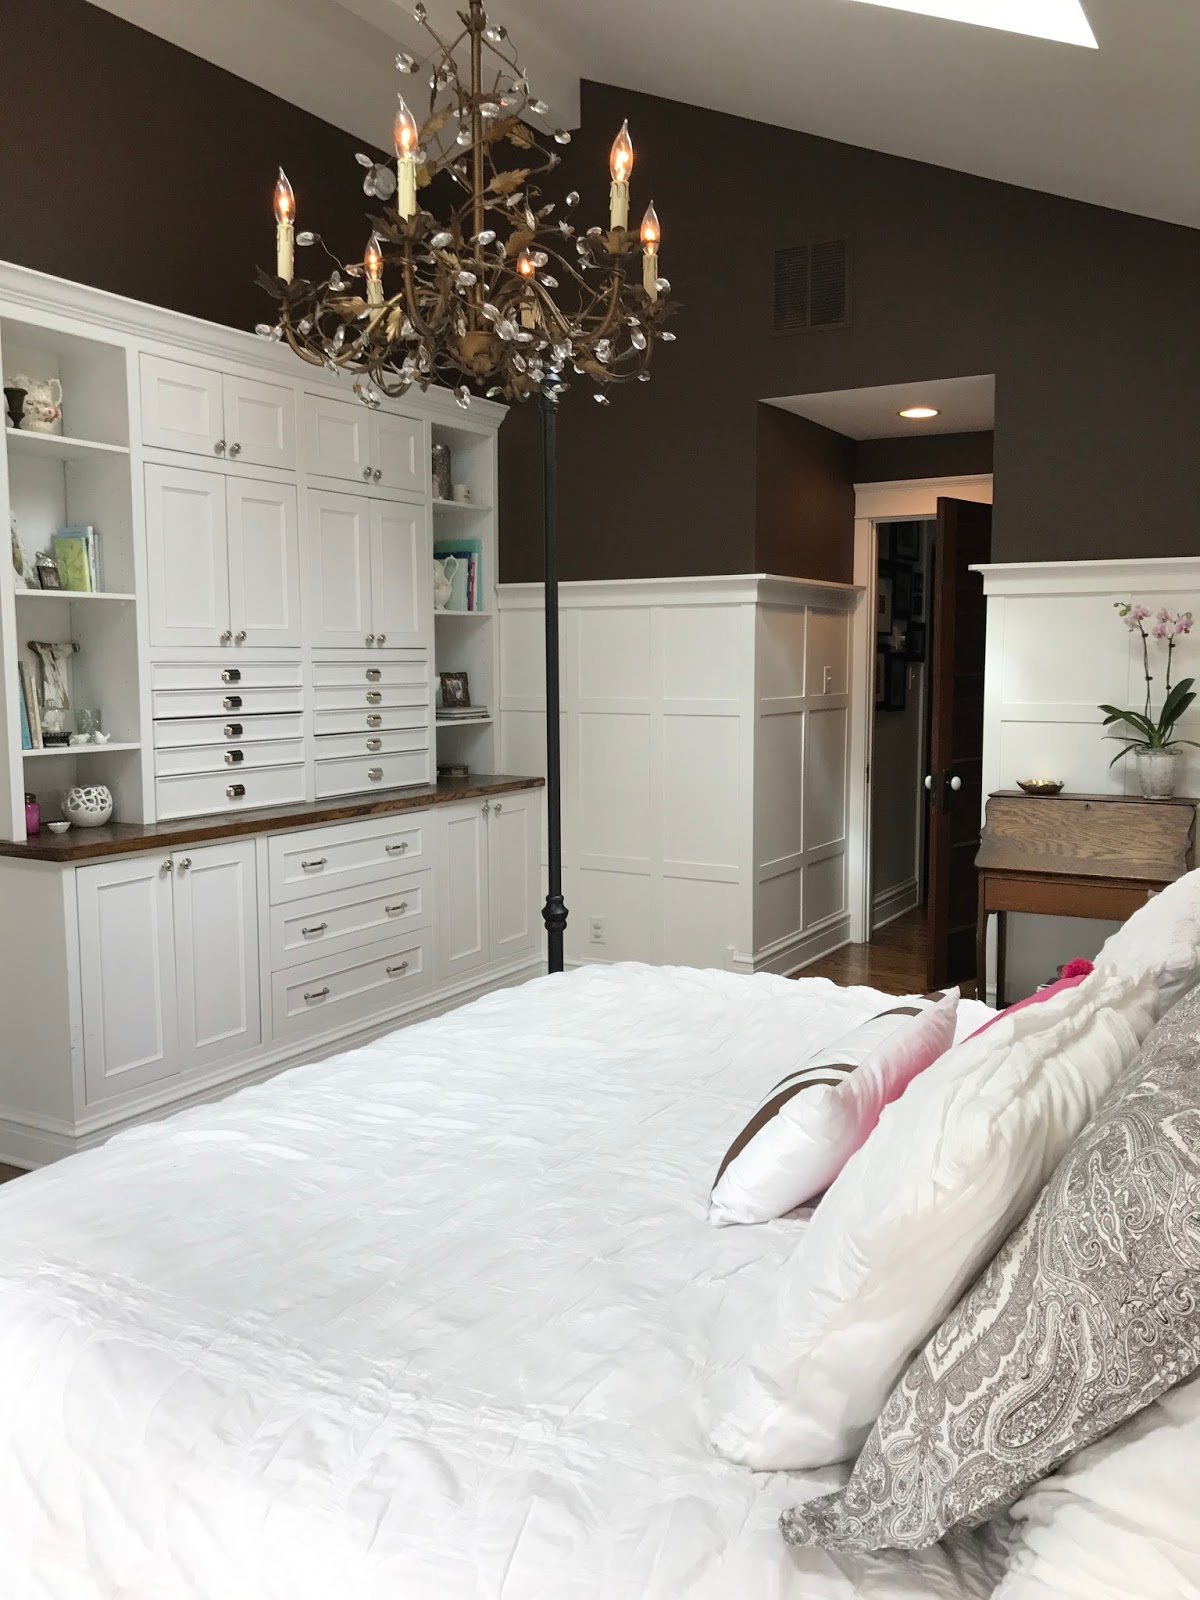
MASTER BEDROOM ADDITION

MASTER BEDROOM ADDITION

MASTER BEDROOM ADDITION

MASTER BEDROOM ADDITION 

KIDS BATHROOM BEFORE

KIDS BATHROOM AFTER 
BASEMENT BEFORE

BASEMENT AFTER (now the PLAYROOM)

BASEMENT BEFORE 

BASEMENT AFTER 

BASEMENT BATHROOM BEFORE

BASEMENT BATHROOM AFTER

BASEMENT BATHROOM BEORE 

BASEMENT BATHROOM AFTER 

GARAGE BEFORE 

GARGAE/COACH HOUSE AFTER 
And there you have it! There is lots more that we want to do- I never stop dreaming up new uses for our space.  But for now, this is home.  Thanks for stopping by!  Can't wait to see you next time!