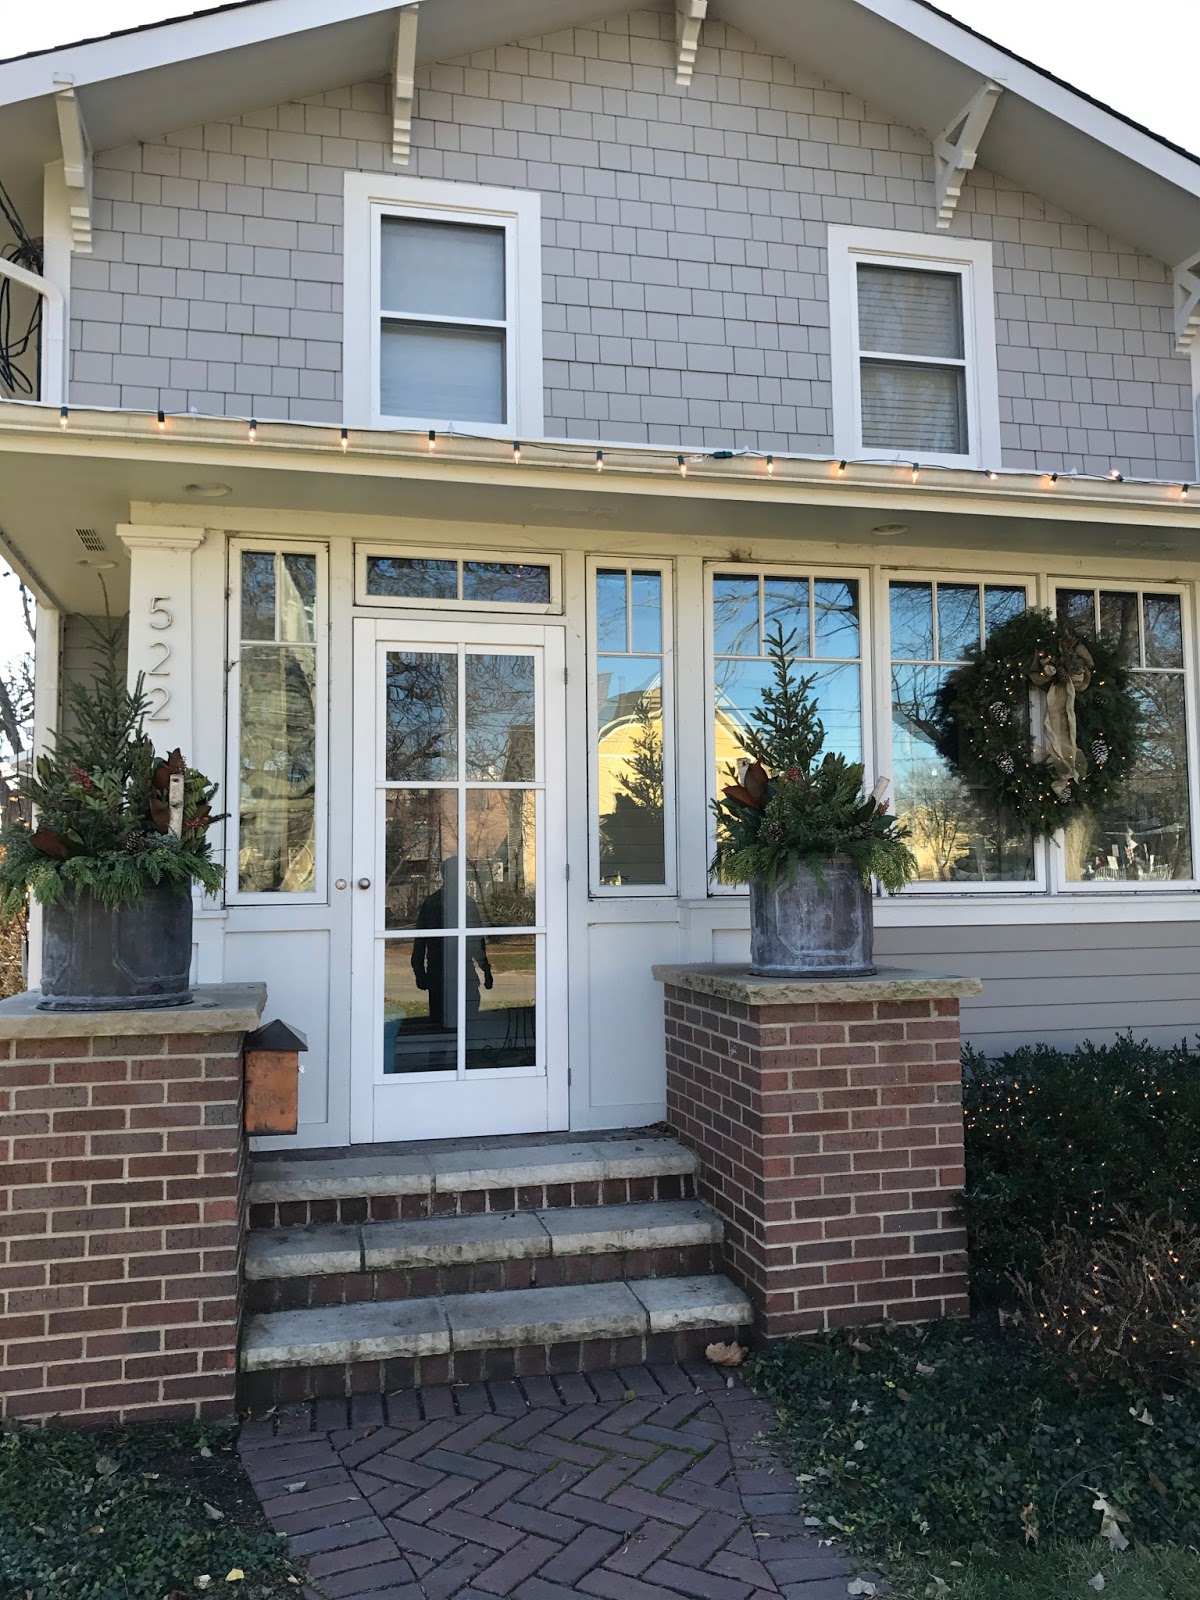
I love when it is the time of season to change out the planters in front of my house. I really like to garden, but the weeds can make me crazy and when things grow too big or not big enough it equals more work and time maintaining it all. Planting in a container is easier because obviously as the name denotes, the space is contained, the project size is limited, and there really isn't that much upkeep other than watering. And Christmas planters are a double bonus because it's really mostly just sticking stuff in the planter versus actually planting and watching for thriving growth.
So, how do you know where to begin?
Start be evaluating the size of your container. If you have a large container, you are going to need a lot of stuff to fill the planter. Large planters with one lonely branch sticking out is so sad. Load up that planter- give that lonely branch some friends! You also want to
consider the scale of your planting. Adding height can add drama and be very appealing.
Start by gathering the materials you want to plant. I like to use anything from clippings from my yard, to sticks found in the yard or bought at a floral store, as well as evergreen boughs in varying textures bought from the floral nursery. I like to layer in large pinecones and ornaments on sticks for Christmas. If all of the material options available gives you pause, consider buying pre made swags, cut off the wires holding the greens together, and reuse them as you need to make them fit in your pots.
Once you have all of your materials home,
lay them all out in groups of like plants so you know what you have, and get to work. Start with the biggest plant. For Christmas, I like to use a tree topper. It is literally the top of an evergreen Christmas tree and can be found at most floral nurseries. If you can't find that, you can use a small table top tree as well. You can put multiple tree toppers in the planter as well for a very full look. I use just one topper per planter in mine. Next, I like to layer the bottom layer of the planter. If things look like they are "spilling out" they look full and luxurious. Then you just kind of stick different branches in as you like. There isn't really any science to it. Just do what looks good to you. I like to make mine follow a somewhat triangular look just because that is what appeals to me. You don't have to do that necessarily. I also like to include pops of color. In this case, you want to make sure that the color is carried throughout the planter intermittently. Be sure to use many different materials and textures of plants for interest and don't be afraid to try something fun and different. If you have a Santa collection and have one that can stand the elements, stick a Santa in your planter!


One great tip, especially for smaller planters, is to look for evergreen clippings from the bottom of Christmas trees. Many home stores clip these off and give them to you for free. In many cases you can just help yourself to as much as you'd like. With a little additional clipping and trimming at home on your own, you can really shape those limbs to fit in the pots and fill them up with lush greenery. Also, look around your yard for things to put in the pots- sticks, bark, evergreen boughs, pinecones- are all things that look great in your planters and in addition to being free, are natural to the area.
Mostly, have fun with it! Like all decorating, the planters should be a reflection of you and your style!